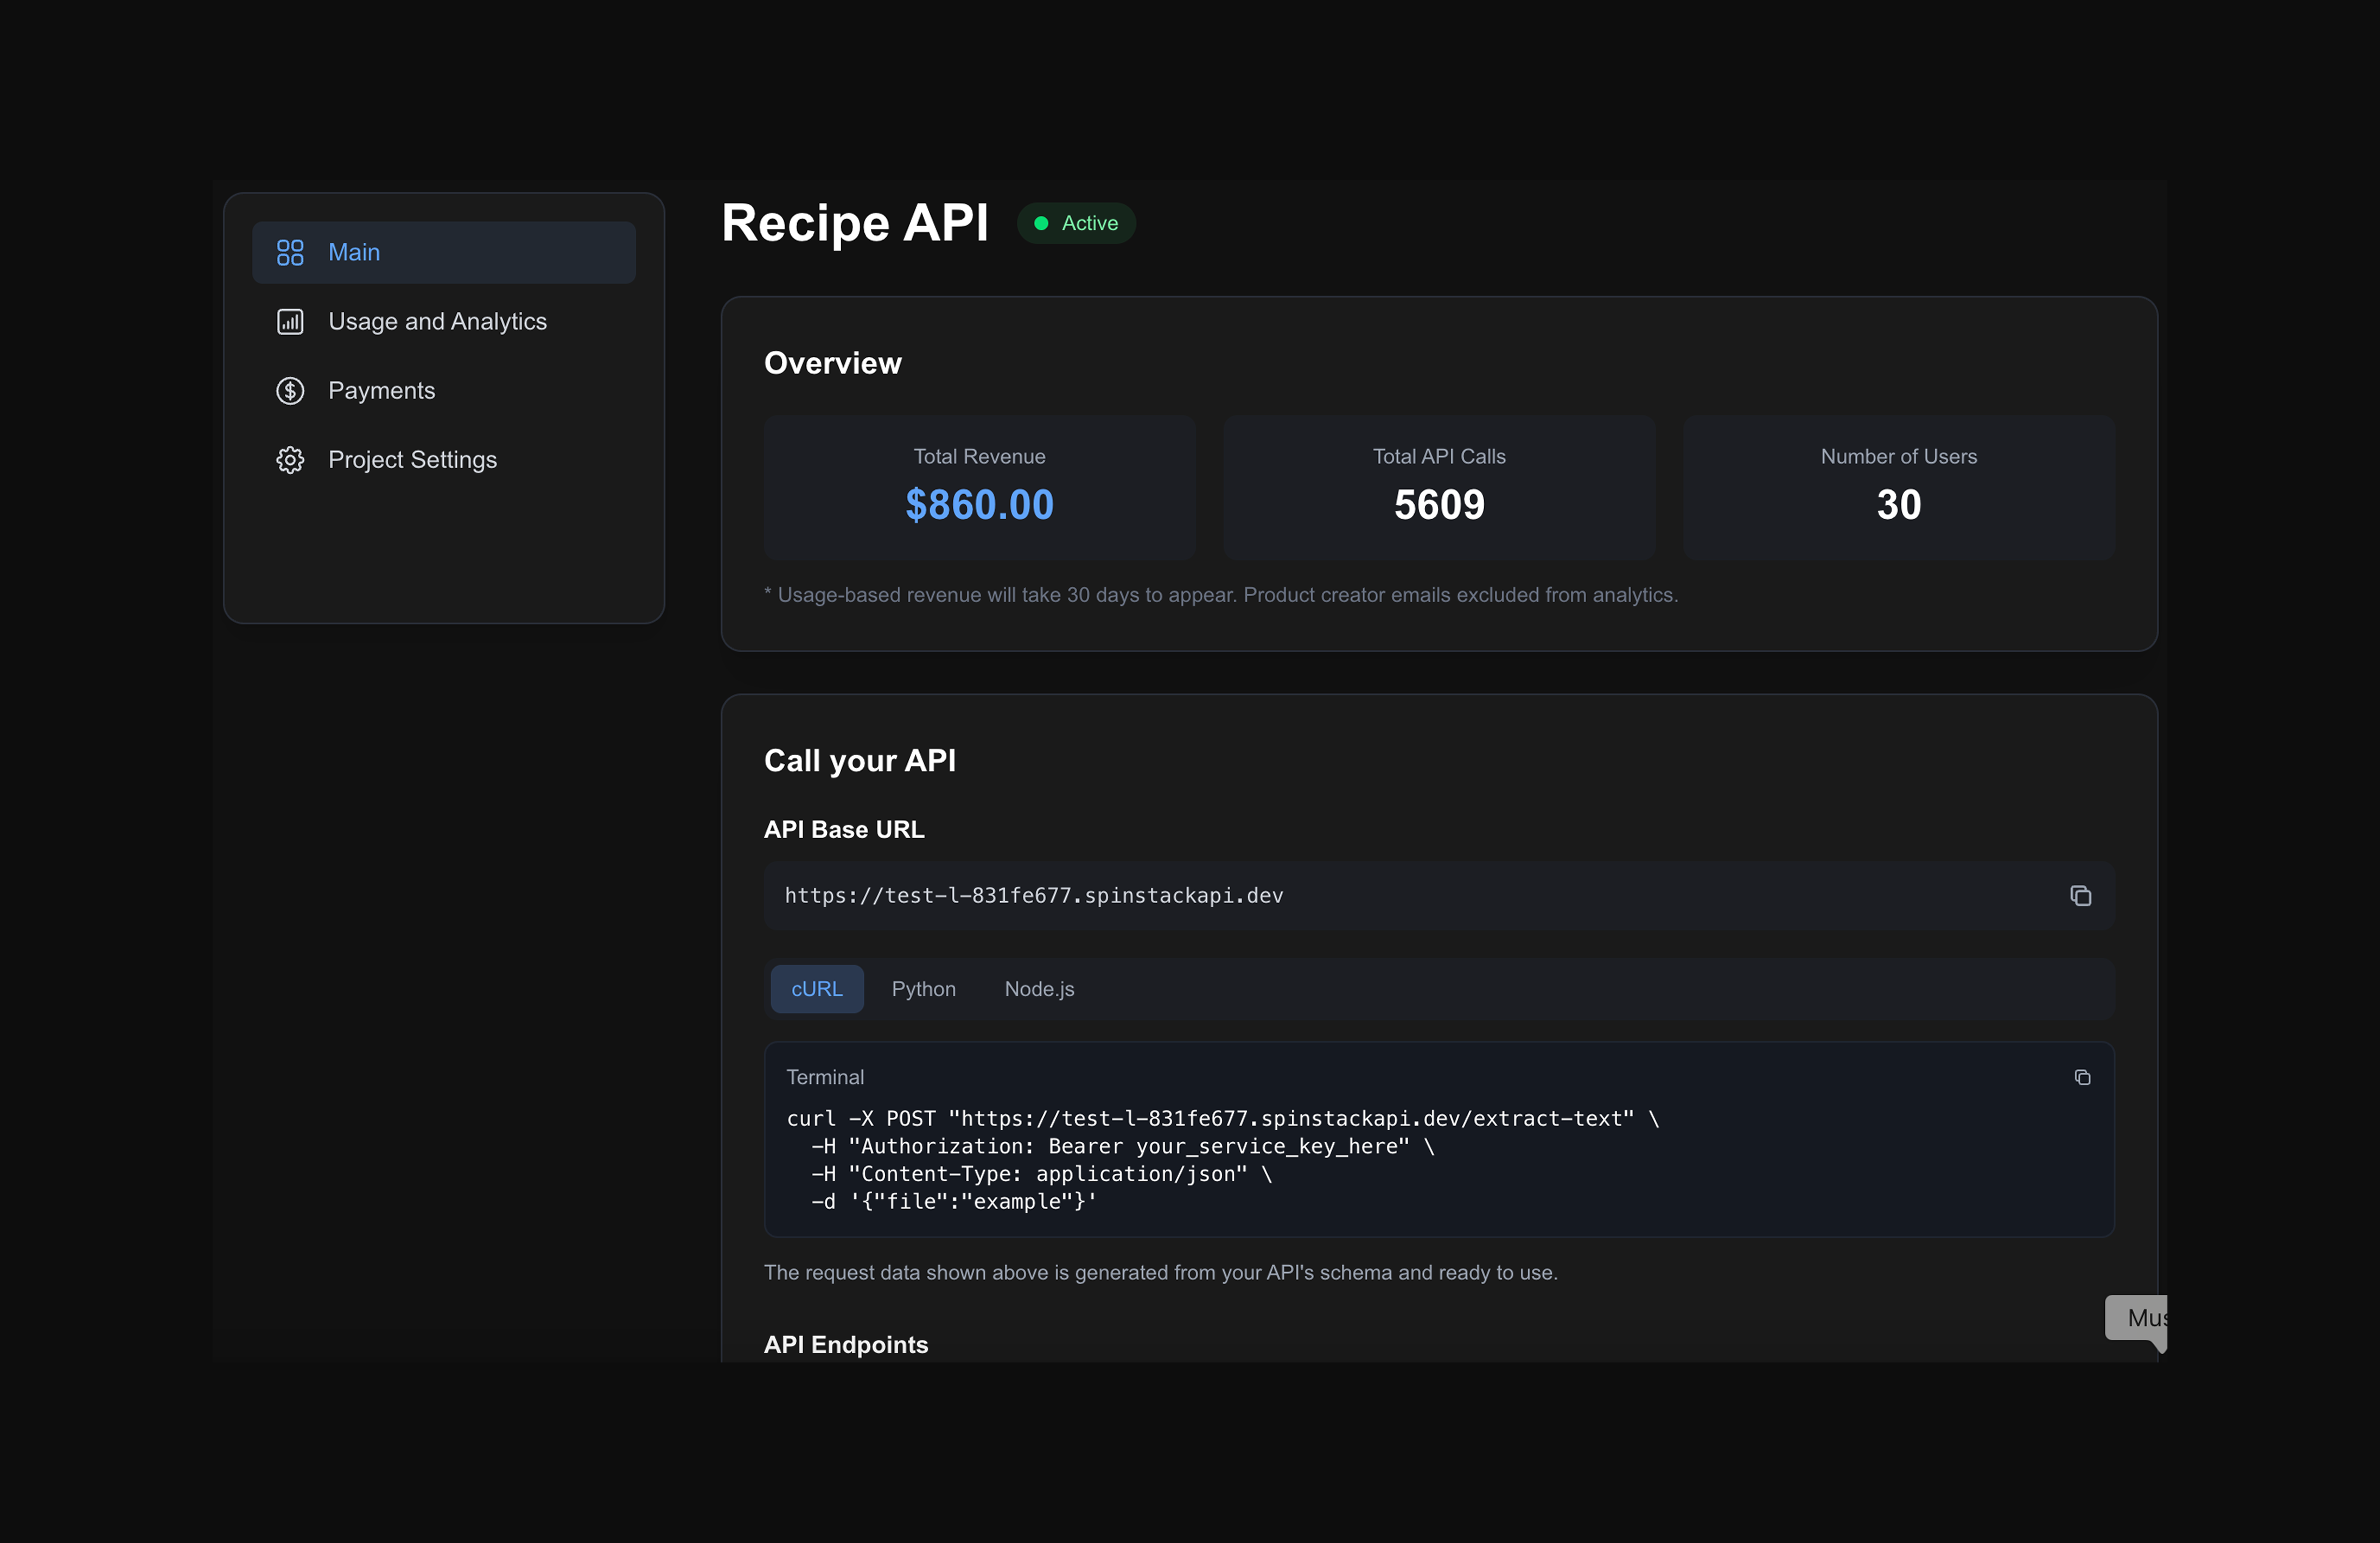
1. Create a Python script with AI
Create a python script with AI for your use case. We recommend creating a script and testing it with Cursor agent which is usually able to create a functional python script without any editing if you ask it to test itself. ChatGPT, Replit, and any IDE will work fine to create a script.
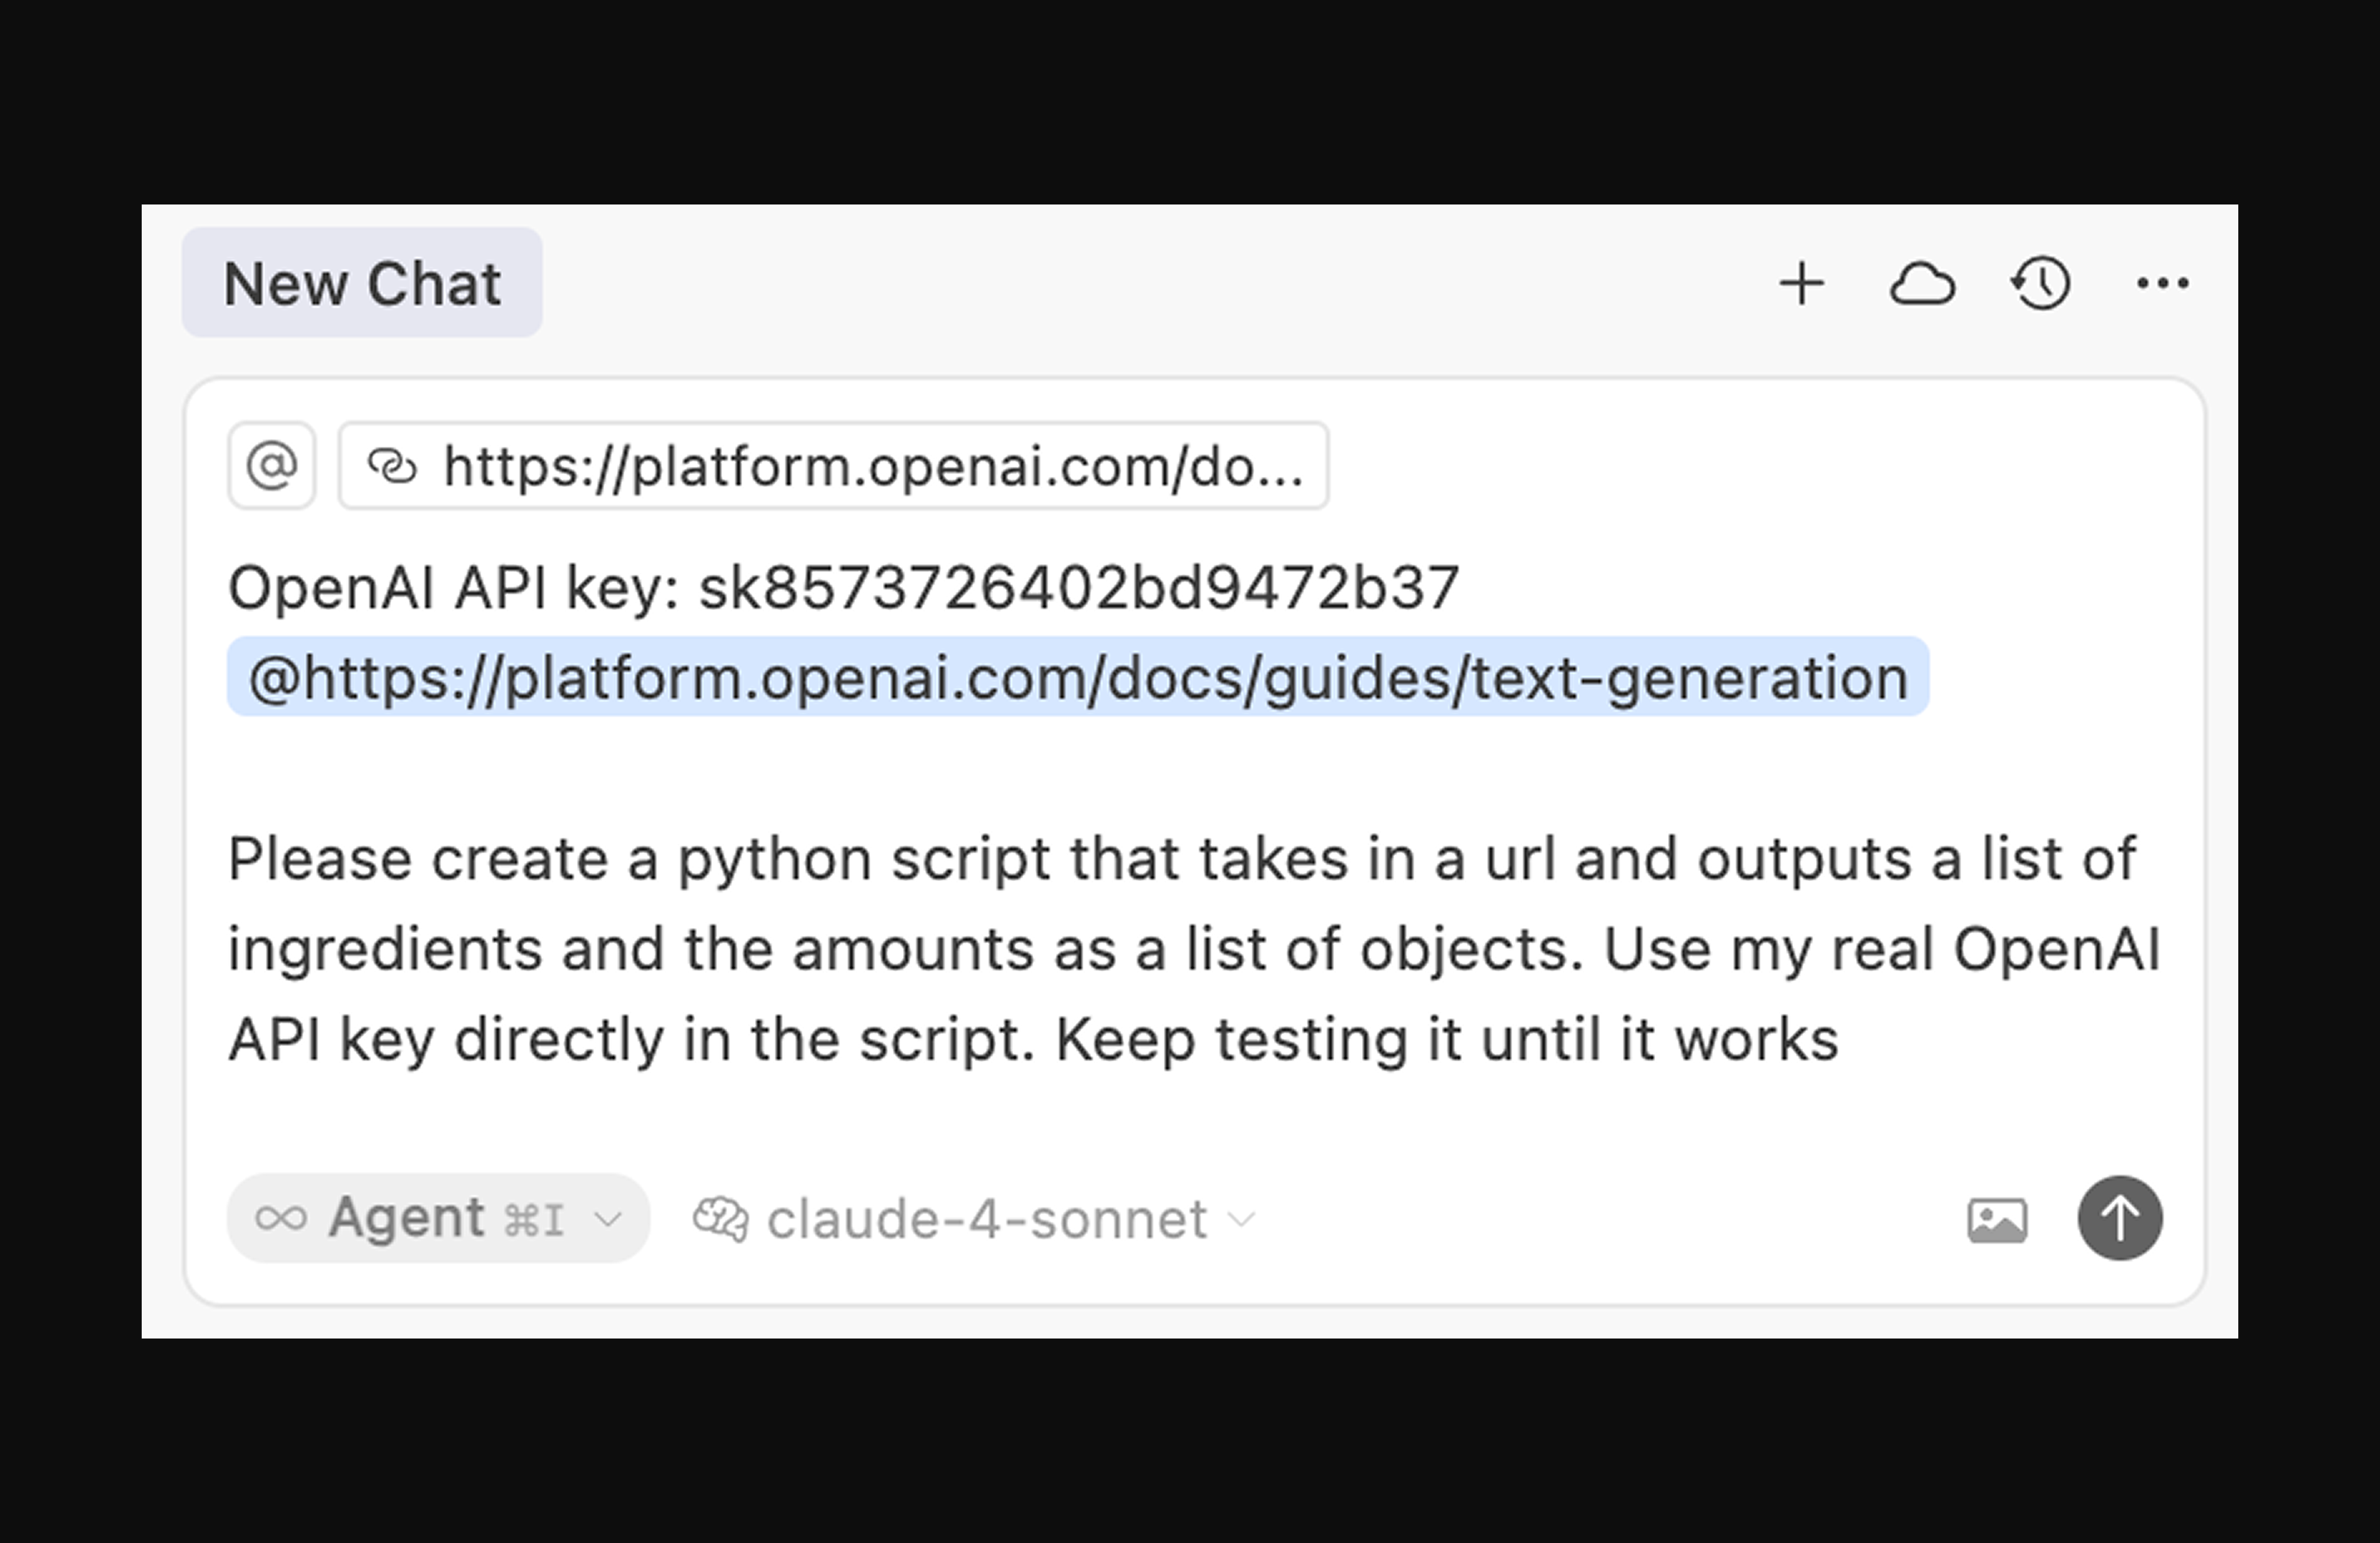
2. Create a SpinStack product
Upload your python script to spinstack and configure your product settings. If you want the API to have specific endpoints, use the custom instructions field in the "Optional Configuration" field to guide our deployment agent. Otherwise, it will determine what the API should look like based on the script.
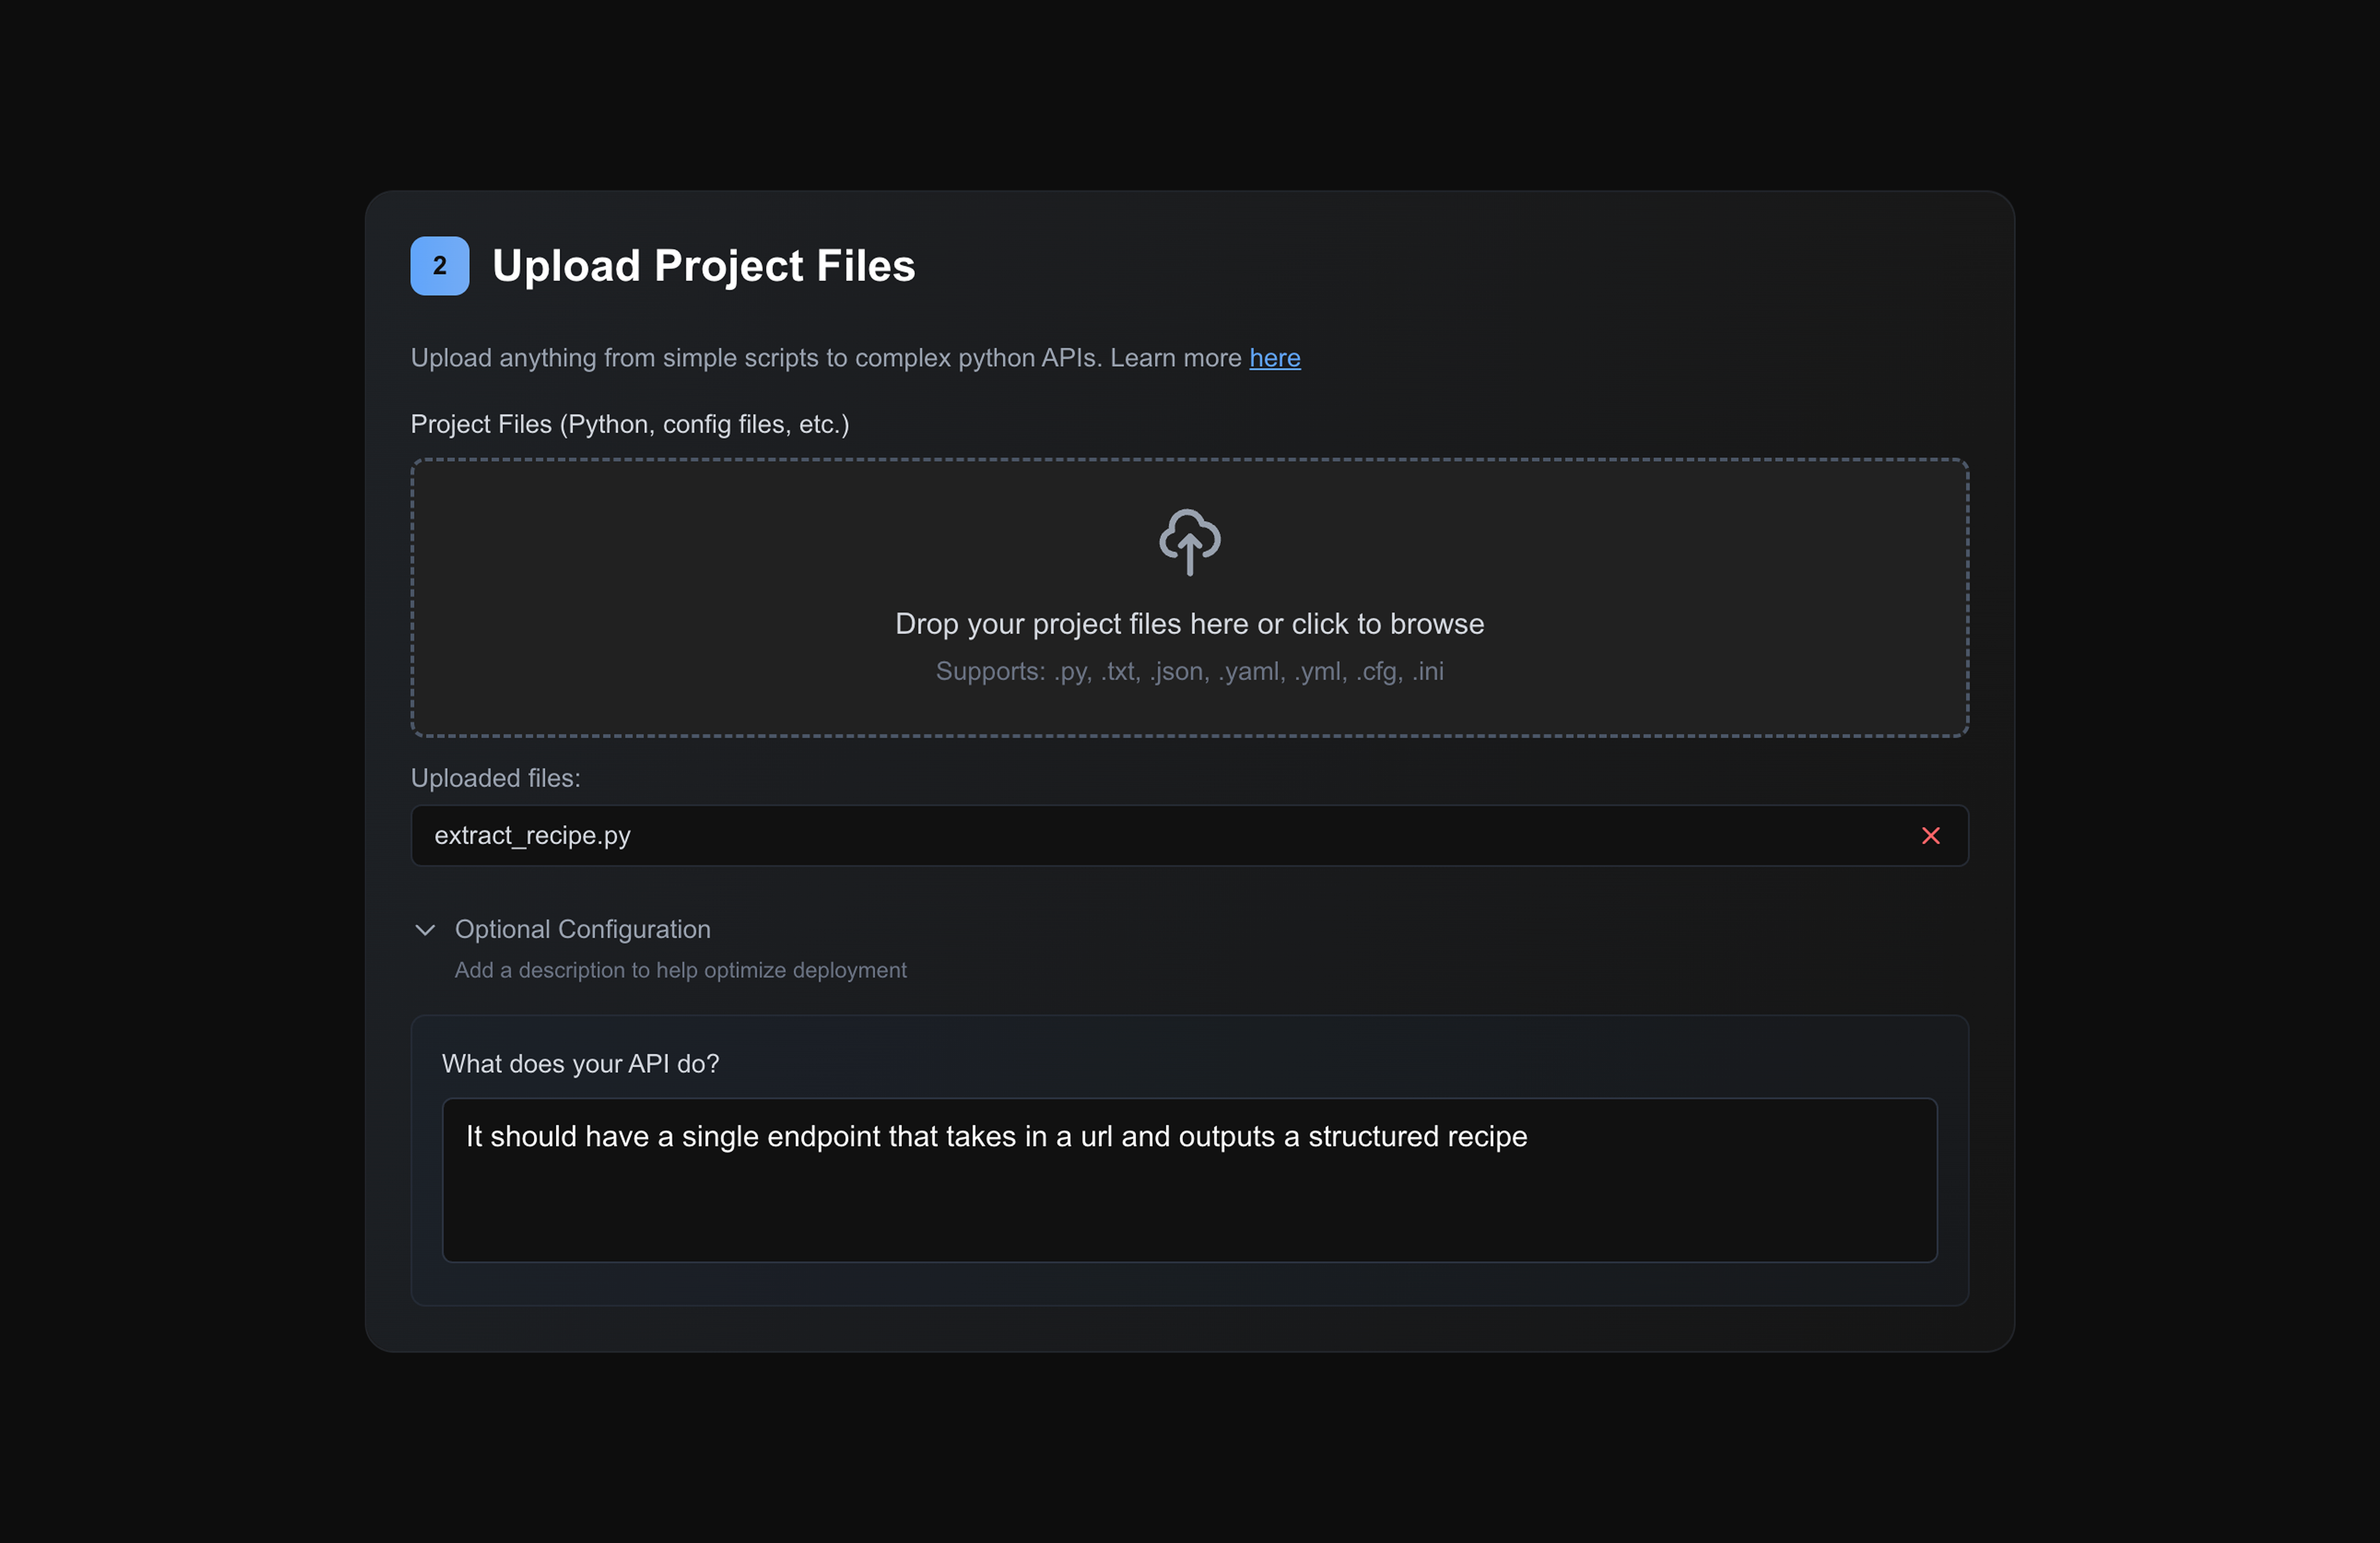
Next, configure your payments. You can add subscriptions or usage-based pricing and get paid directly from users. We recommend you make subscription tiers which each have overage limits. This way, users will pay you monthly recurring revenue (MRR) to use your product, even if they don't hit the usage limit. Additionally, if they go over, you will still be paid usage-based revenue. Alternatively, you can charge solely pay-per-use, where you will earn a certain amount every time a user uses your API. If you don't want to charge your users, you can create a free product.
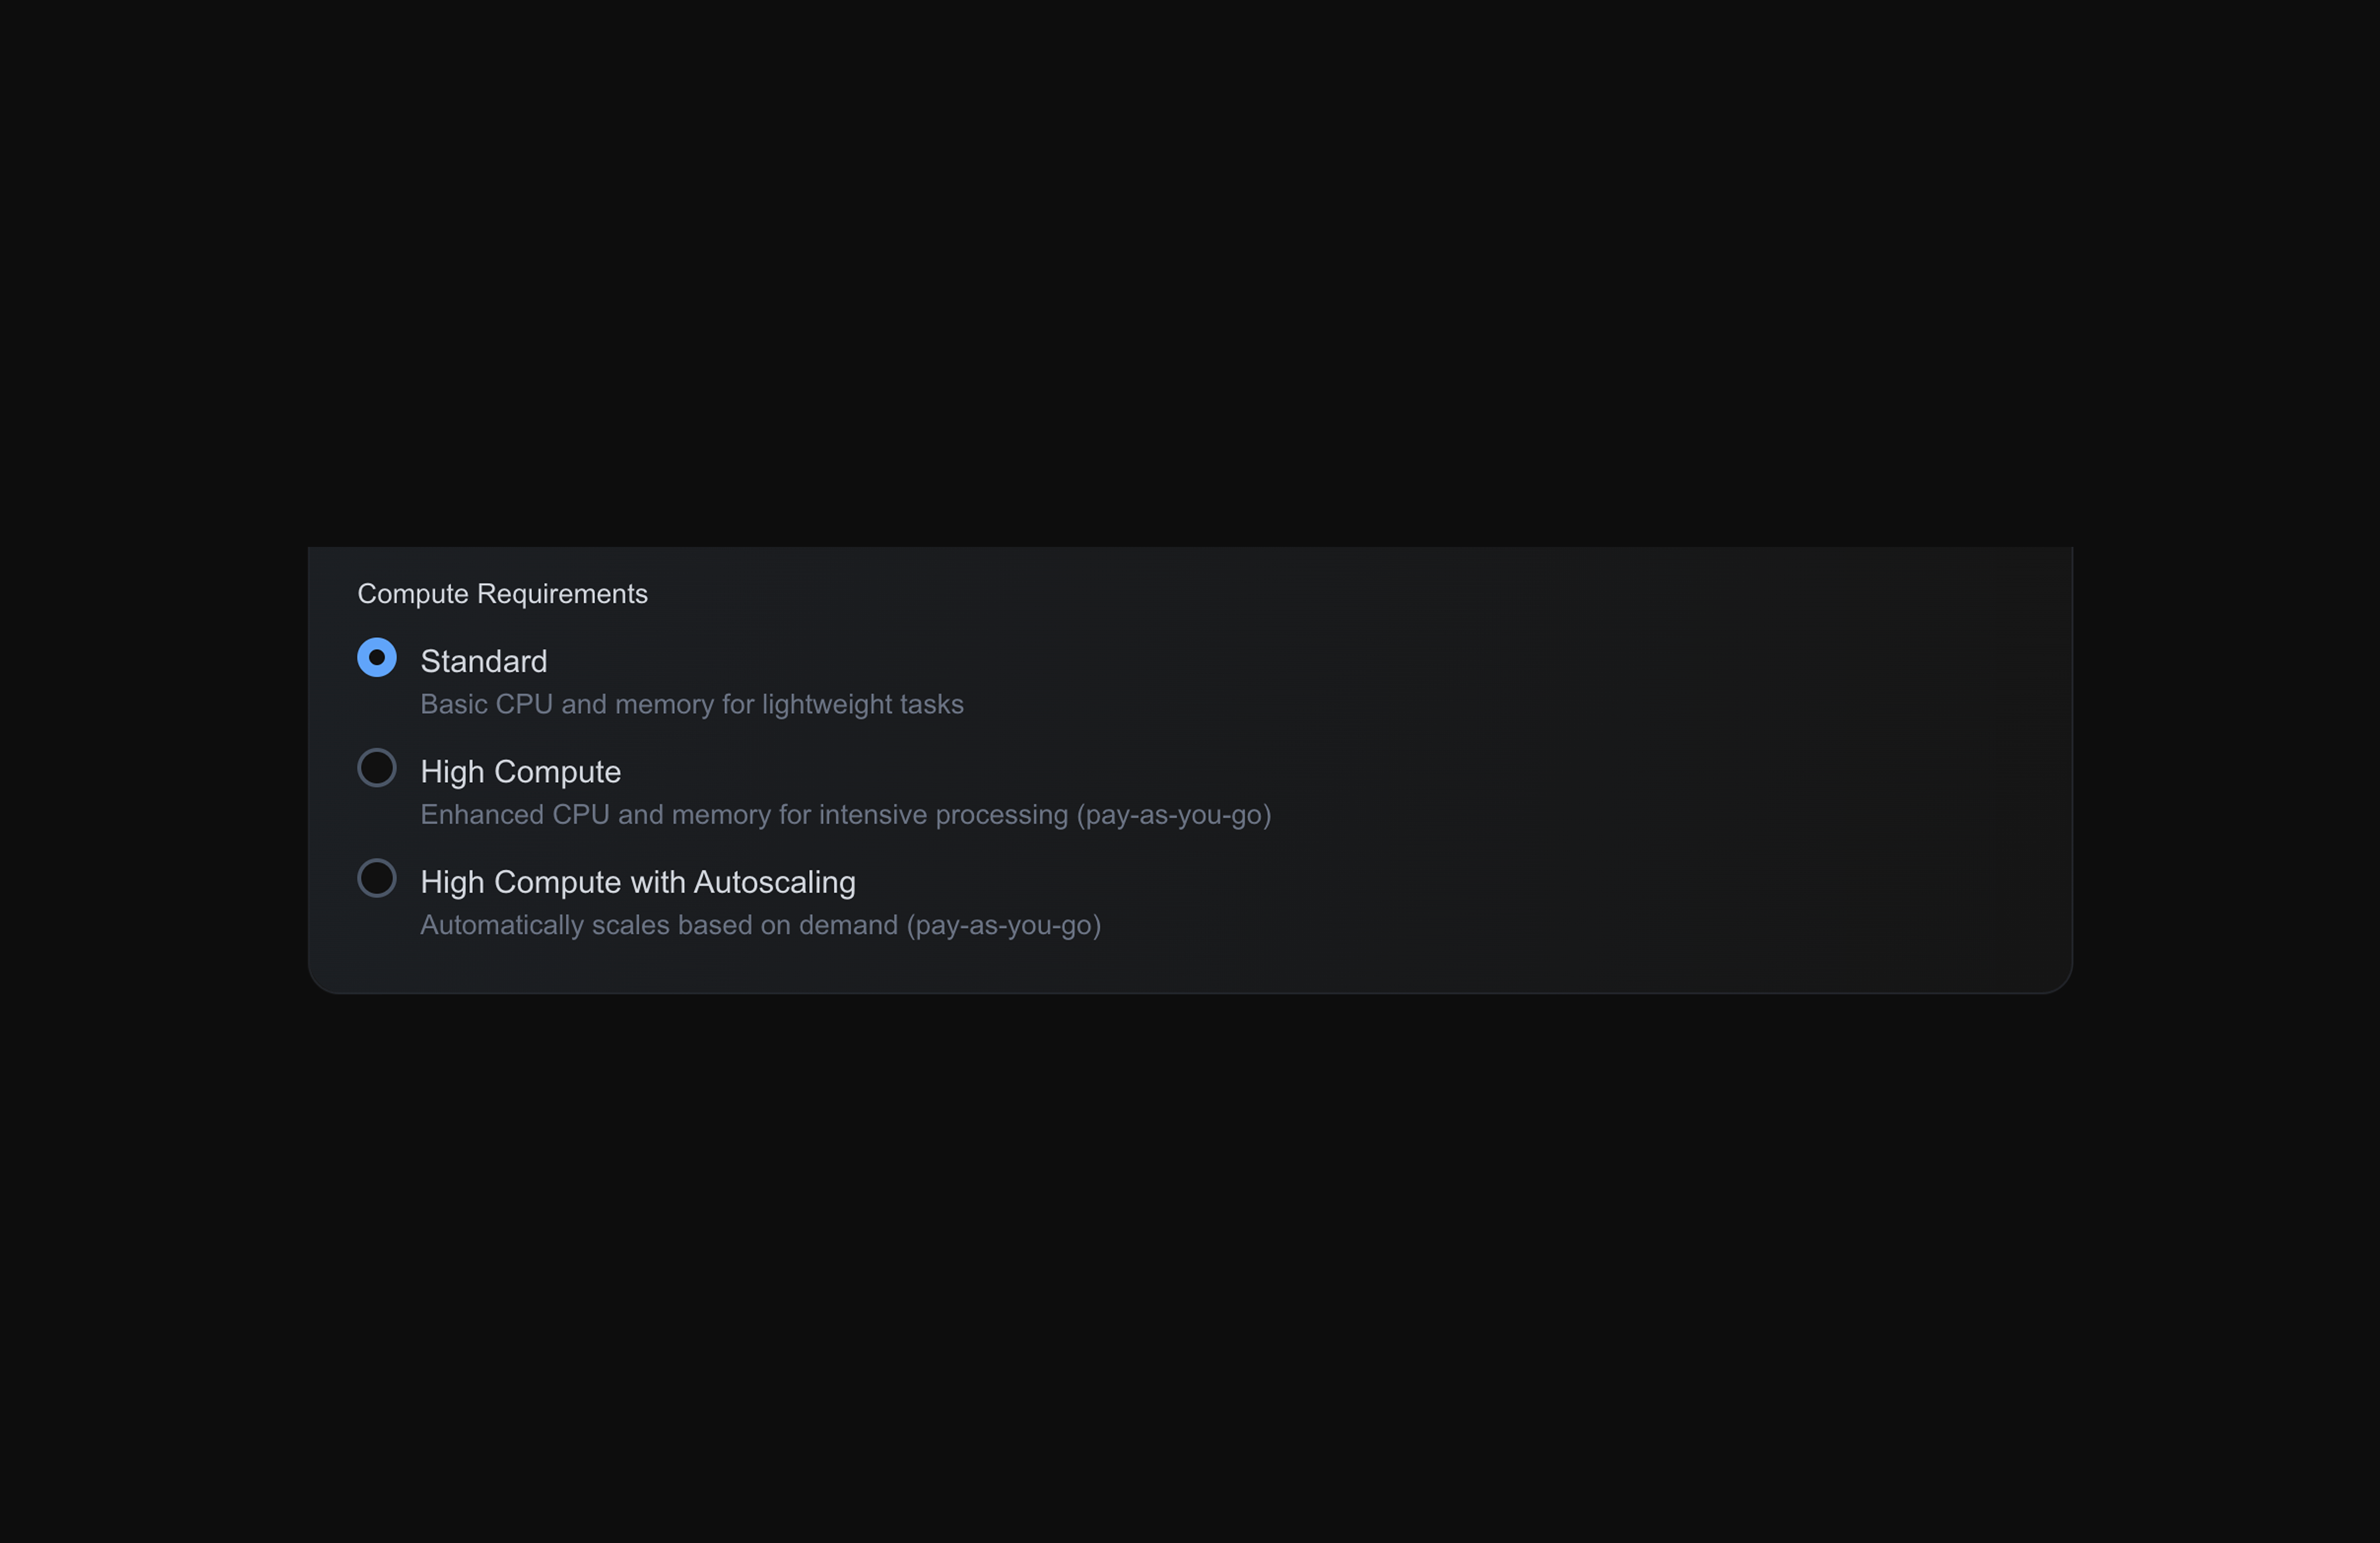
Finally, you can choose the level of compute your API will use. The vast majority of apps are able to run on standard compute, and if you have Pro, you get 100.0 free compute credits per month which is more than enough for most users. For reference, even if you have an API call being made by users every single second of the month, you will not deplete your free credits. And even if you do, your application will continue to run and you'll just be charged for overages, typically just a few cents.
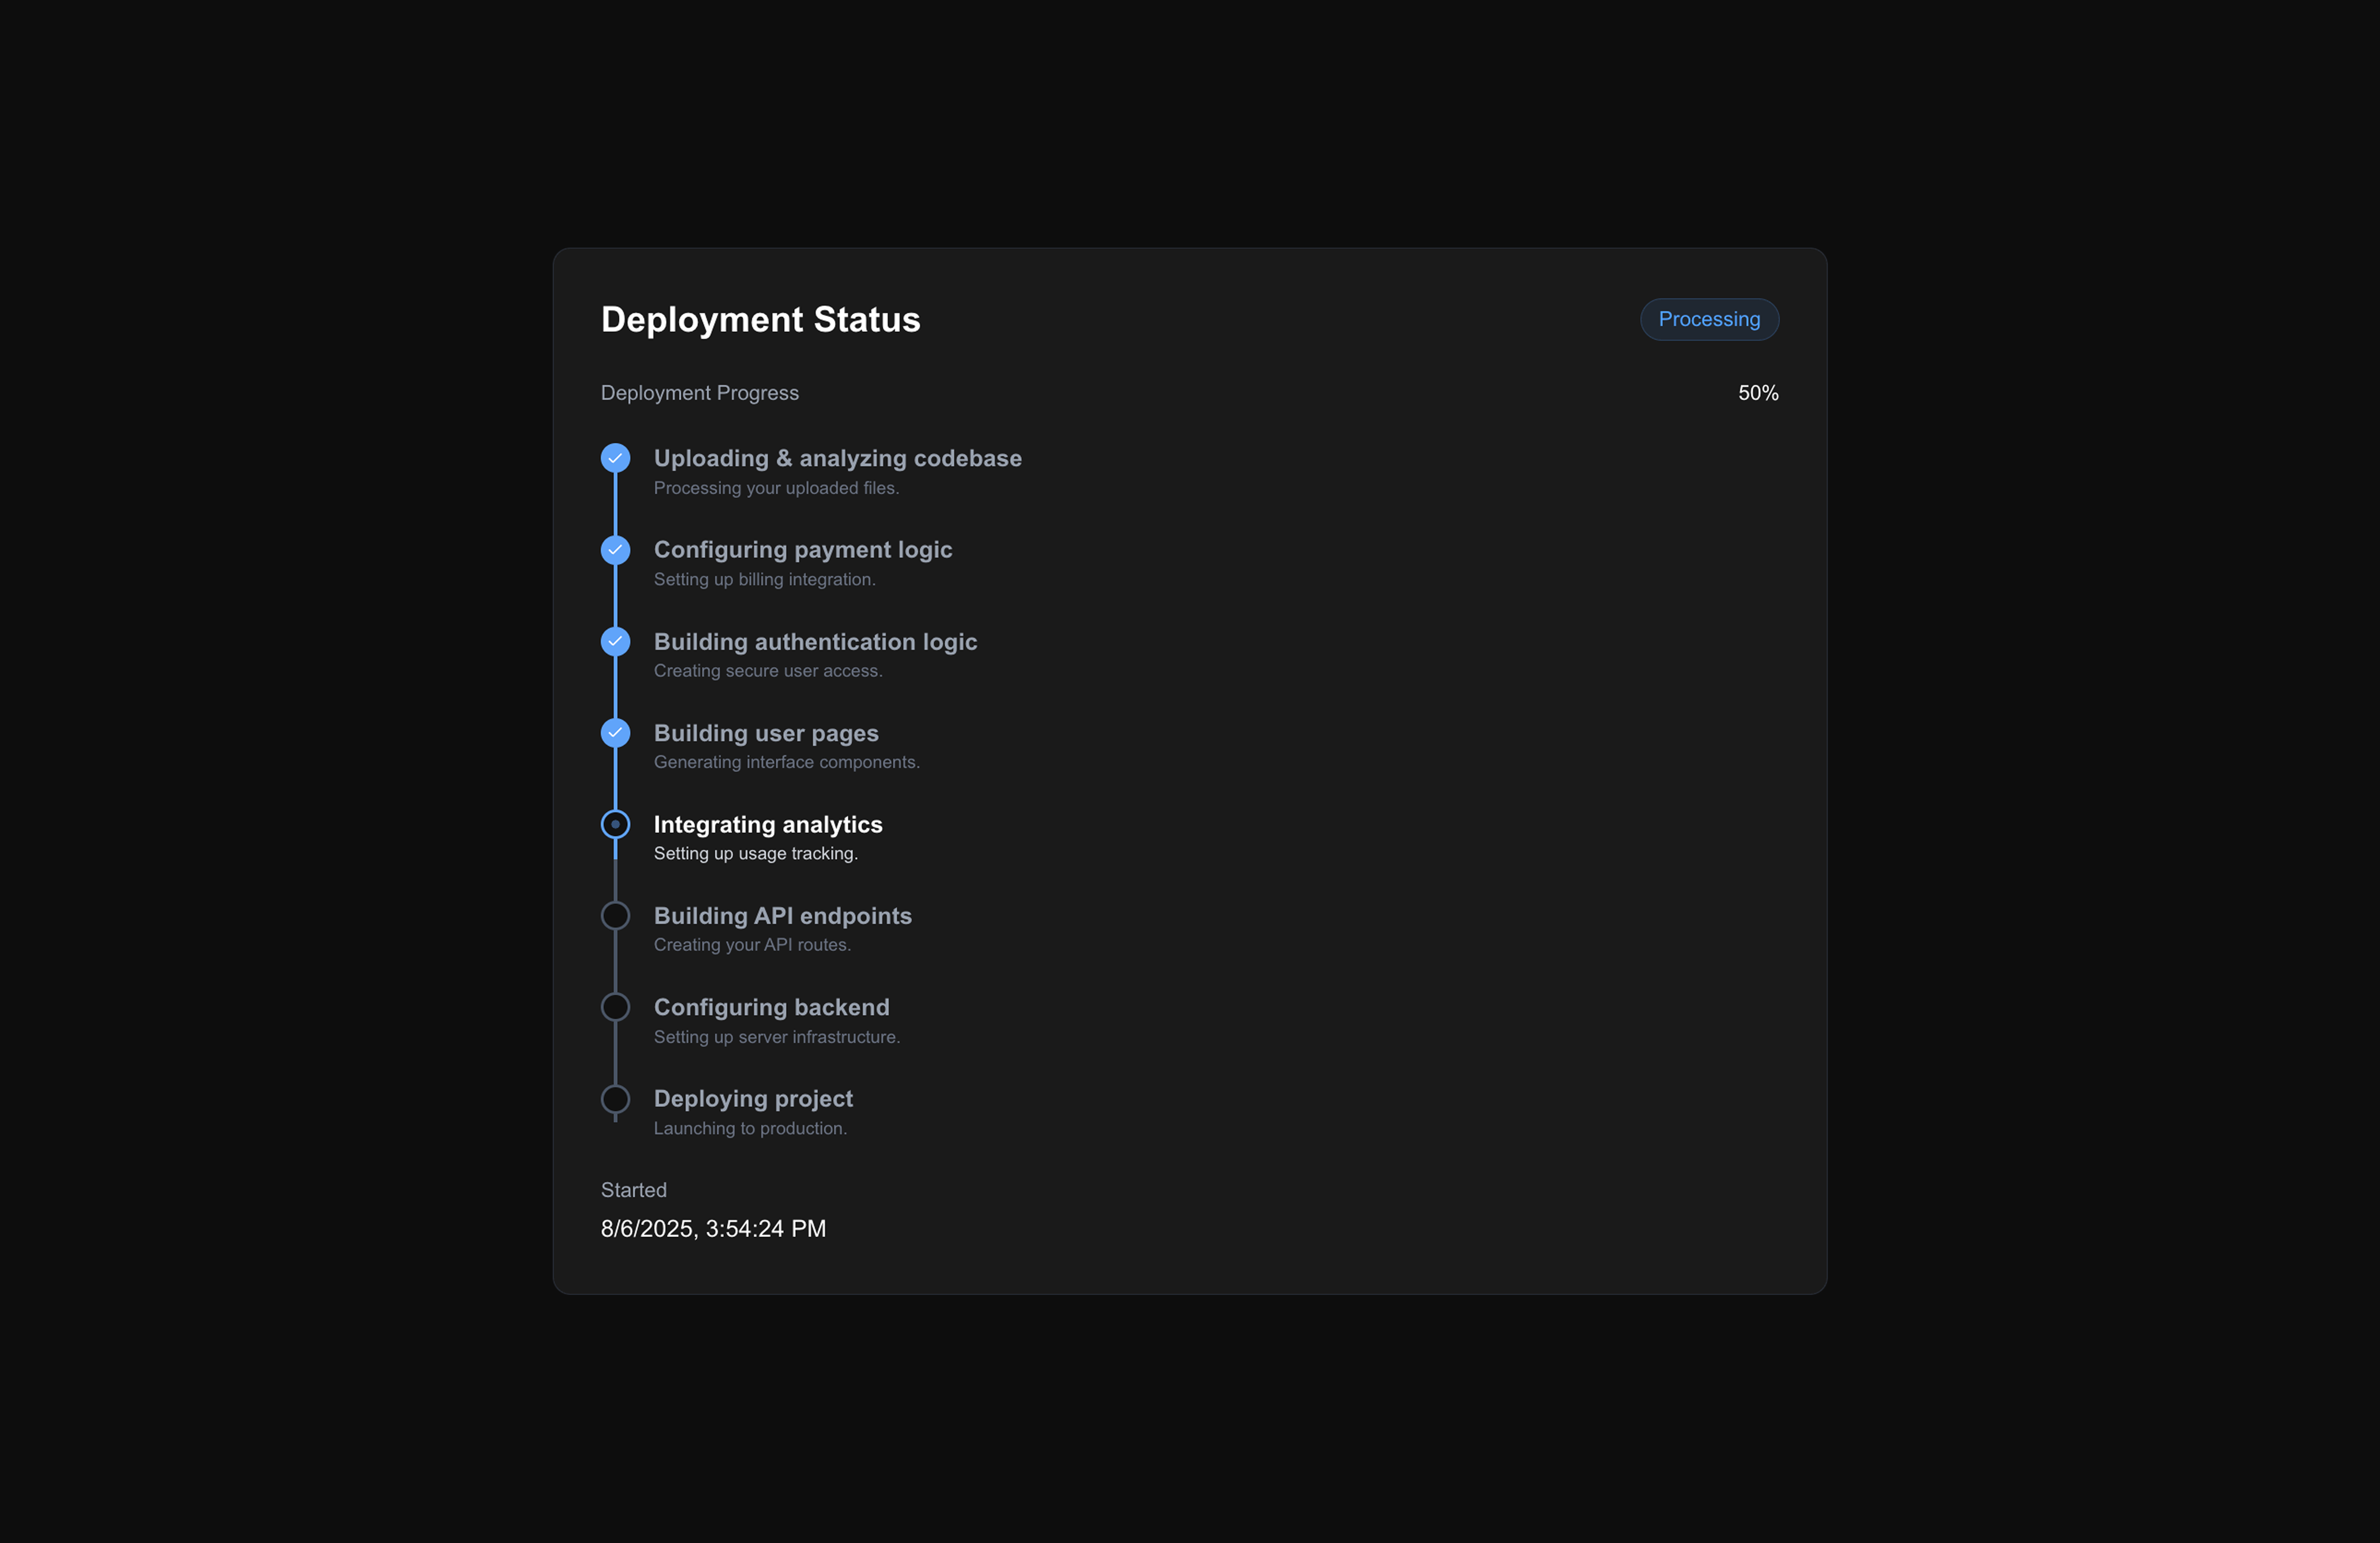
Once you hit "Launch" your product will build. You will see the status as it is deployed. Don't worry if it seems to be taking a while; the agent can take a long time to understand your setup, integrate authentication and payments, and deploy the API to the cloud. Even if the build does fail, simply try again and it will likely work.
3. Go live
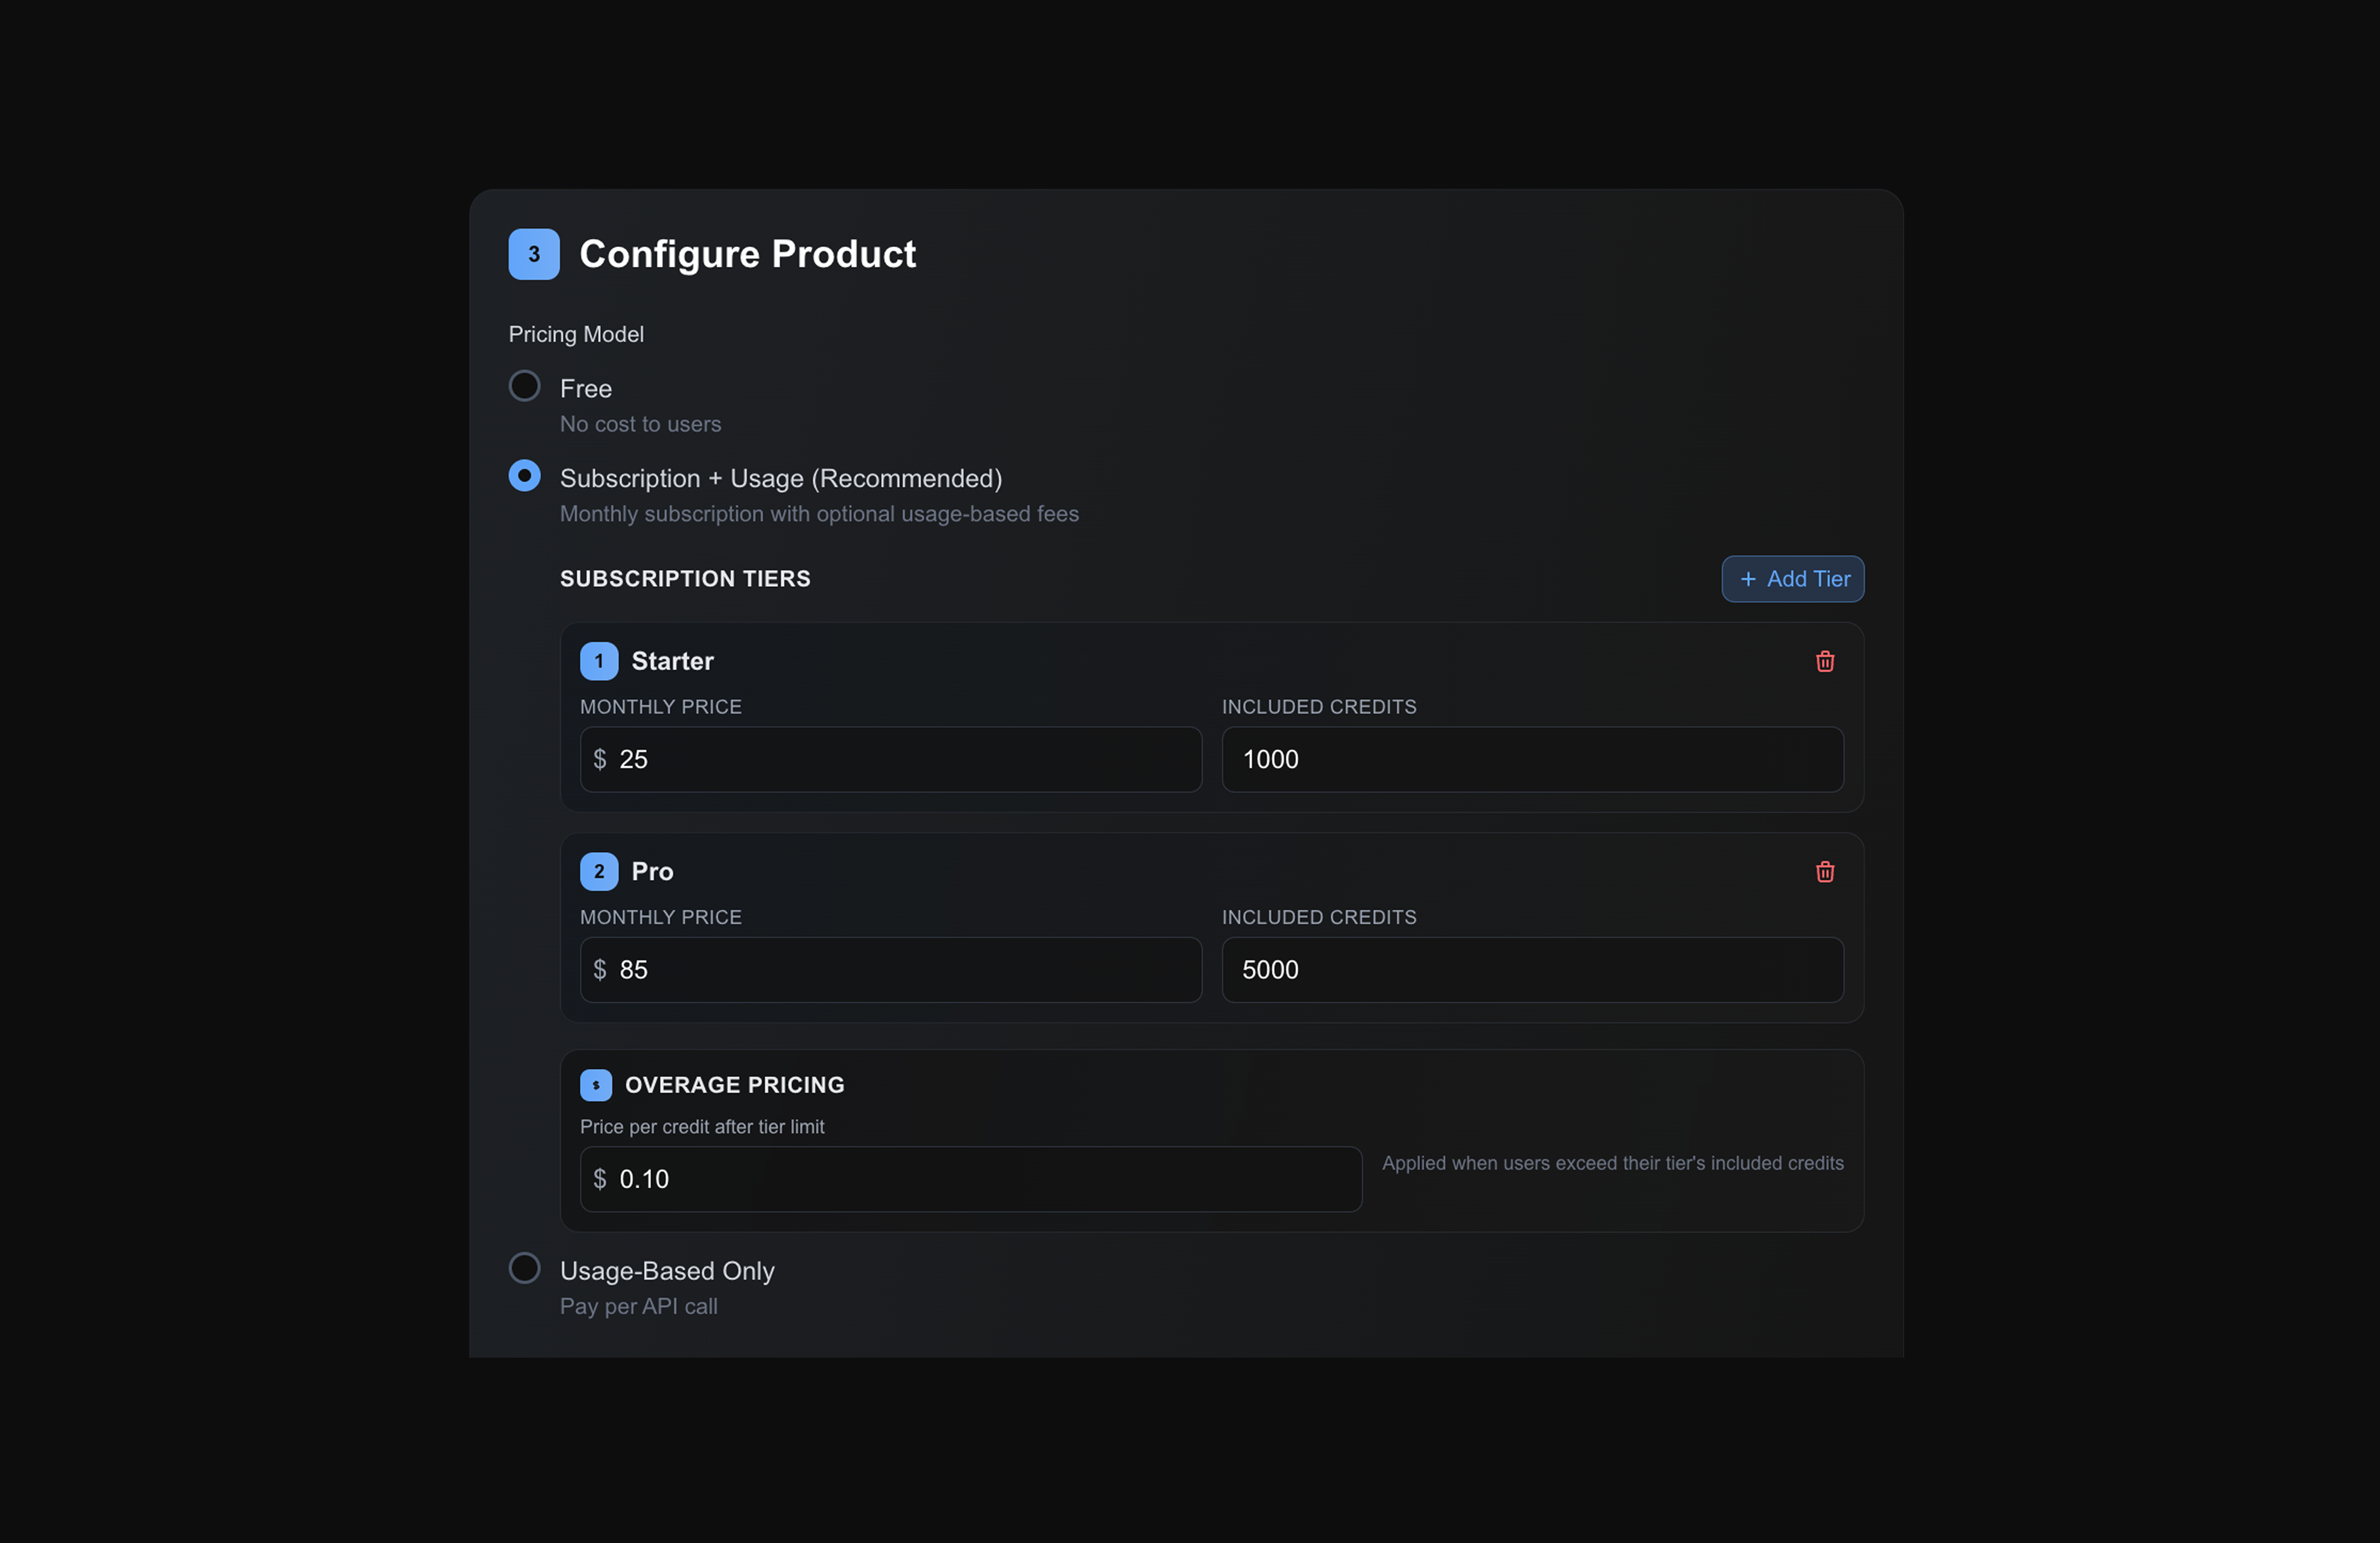
Once your product is live, you will be able to see and manage it in the products page. We automatically track usage and analytics so you can see how your app is doing. Additionally, the agent creates two sets of live web pages for you to give to users or to integrate as a link into your website if you have one. This is the "pricing" page which lets users pay you for access to the API, and the "portal" page where users can sign up or sign in then manage their subscription, create and delete API keys, and more. These pages are fully production ready and are integrated directly with your API so you don't have to worry about any of the headaches involved with accounts of payments. When a user signs up for your product on the portal or buys a subscription, you'll be able to see it right away on your products page.
